DIY Voice Over: Setting Up a Home Studio on a Budget


Introduction to DIY Voice Over
Breaking into the world of voice over can seem daunting, especially when considering the high-tech equipment often associated with professional studios. However, with a little ingenuity and a modest budget, setting up a home studio is entirely achievable. This guide will help you create a functional space to hone your craft without breaking the bank.
Choosing the Right Space
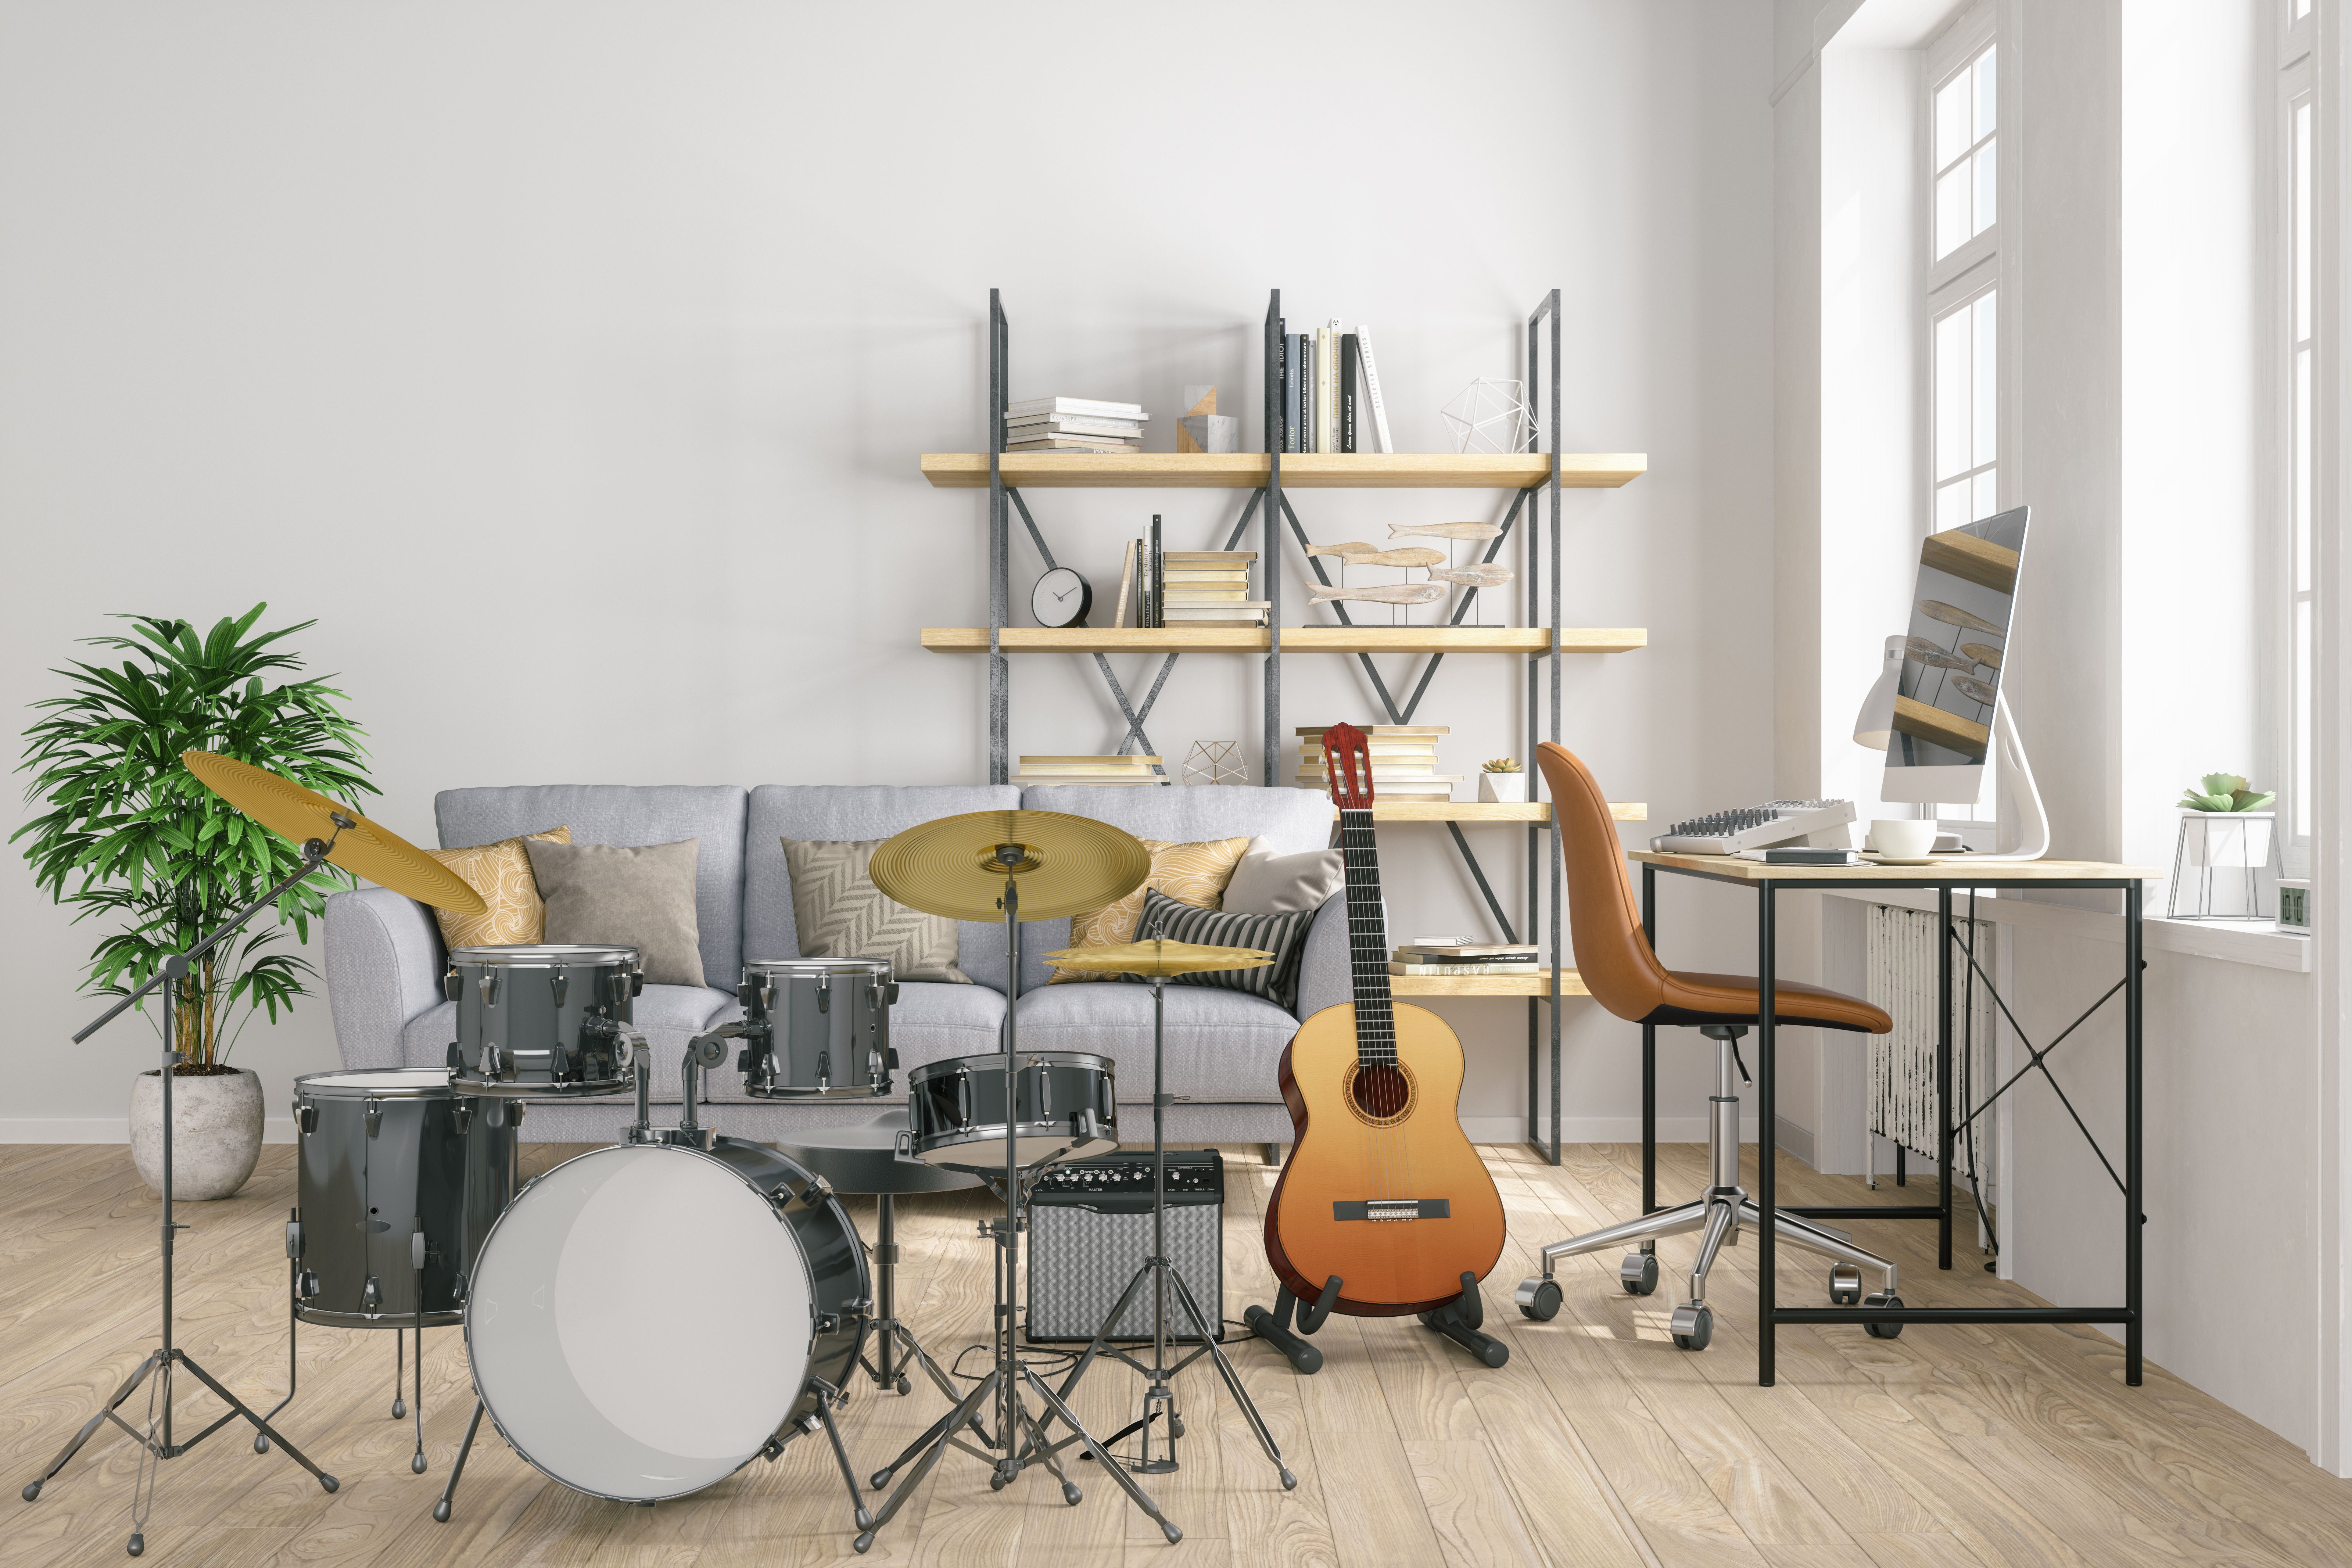
Your first step is selecting an appropriate space in your home. While you might not have a dedicated room to spare, a quiet corner or closet can serve as an effective recording environment. Look for a spot with minimal background noise and ample space to accommodate your equipment.
The Importance of Acoustic Treatment
Acoustic treatment is crucial to achieving professional-quality sound. You don't need to invest in expensive foam panels; instead, use household items. Hang heavy blankets or curtains on the walls to dampen sound reflections, and place a rug on the floor to absorb echo. Even bookshelves filled with books can help diffuse sound effectively.
Essential Equipment on a Budget
Once your space is ready, it's time to gather the essential equipment. While it's tempting to splurge on the latest gadgets, you can find budget-friendly options that deliver excellent results.
Microphone Selection
The microphone is arguably the most critical component of your setup. USB microphones are a popular choice for beginners due to their ease of use and affordability. Look for reputable brands that offer good sound quality without the hefty price tag.
Audio Interface and Software
If you opt for an XLR microphone, you'll need an audio interface to connect it to your computer. Many interfaces are available at reasonable prices and often come bundled with software. For recording, free software such as Audacity provides powerful editing capabilities without cost.
Setting Up Your Equipment
With your equipment in hand, setting up is relatively straightforward. Position your microphone a few inches away from your mouth, slightly off-center, to reduce plosive sounds. Use a pop filter to further minimize these unwanted noises.

Monitoring and Adjusting Sound
Investing in a pair of good-quality headphones is essential for monitoring your recordings. This helps catch issues such as background noise or distortion early in the process. Regularly adjust your setup based on feedback from test recordings to ensure consistent quality.
Practicing and Refining Your Skills
Once your home studio is operational, dedicate time to practice and refine your voice over skills. Experiment with different scripts and delivery styles to find what suits you best. Joining online communities can provide valuable feedback and support as you progress.
By following these steps, you can establish a functional home studio that offers professional results without the professional price tag. With patience and persistence, your voice over career can flourish from the comfort of your own home.